Platform Overview
The Moriae Privacy-preserving Computation Network enables the management of privacy-preserving AI across its entire life cycle through a platform-based approach. It enables seamless collaboration with privacy-preserving computation technology, blockchain technology, AI technology, economic models, data algorithms, and computing power at the lower level according to application demands. Moriae eliminates data silos, makes privacy-preserving AI more accessible, and builds the next-generation infrastructure for artificial intelligence and the digital economy.
A Quick Start
Starting a privacy-preserving AI project on Moriae mainly involves the following steps:
- Log-in
- [Node Information](#Node Information)
- [Data Preparation](#Data Preparation)
- [Start a Project](#Start a Project)
- [Create a Workflow](#Create a Workflow)
- [Model Training](#Model Training)
- [Model Prediction](#Model Prediction)
- [Running Logs](#Running Logs)
Log-in
Moriae manages its users in a decentralized manner. To log in to the platform, you’ll only need a crypto wallet that supports MetaMask extension, without the need to register an additional account. Here are the log-in steps:
1.Open the beta version of the platform (https://test.technocore.network) in Chrome, and enter the Moriae homepage;
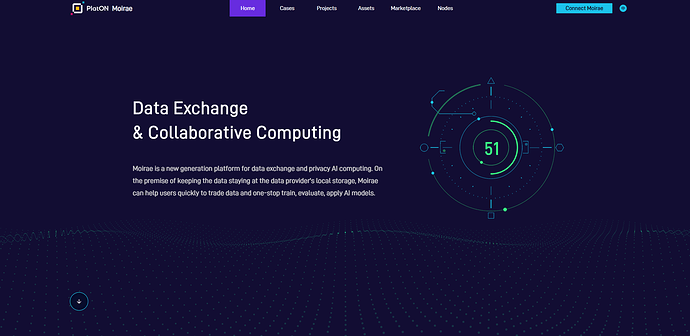

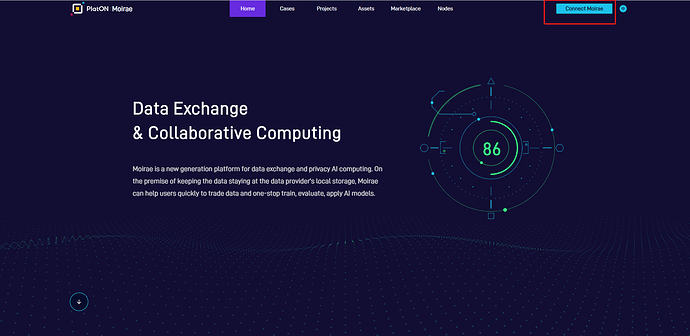
2.Click on [Connect Moriae] in the upper right corner of the page;
3.Click on [Install] on the pop-up window for installing MetaMask Extension, complete the installation as instructed, and create/import a wallet. Skip this step if you have already installed MetaMask Extension;
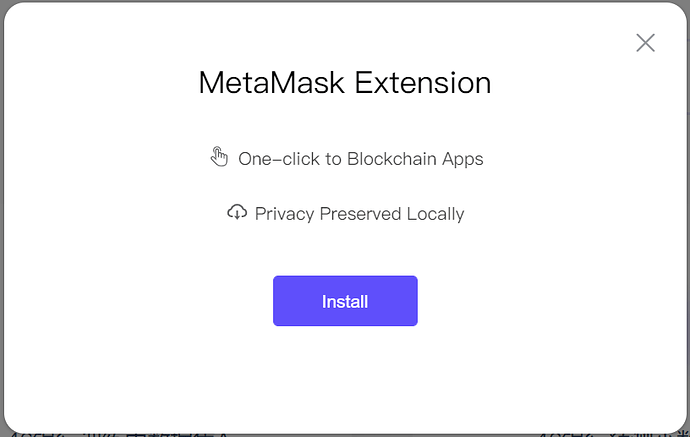
- Note: Metamask Extension now only supports Chrome
4.Click on [Connect Moriae] once again, select “I have read and agreed to the Terms of Use and Privacy Policy” and click on “MetaMask” after the login window pops up;
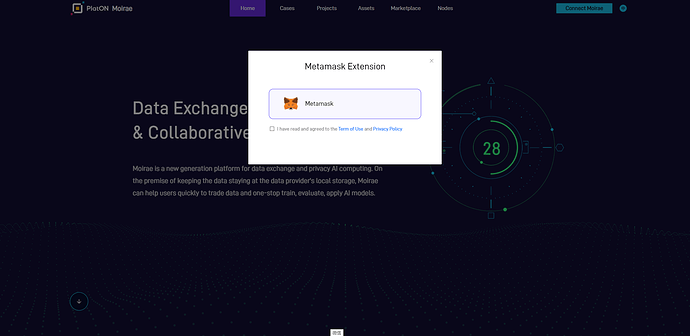
- Click “Sign” to log in to the platform after the signature window pops up.
Node Information
The page shows the total number of nodes that can participate in privacy-preserving computation tasks on Moriae. Participant nodes including sponsors, result receivers, data providers, algorithm providers, computing executors jointly provide support for secure multi-party computation through the scheduling service of RosettaNet.
1.Enter the Nodes page;
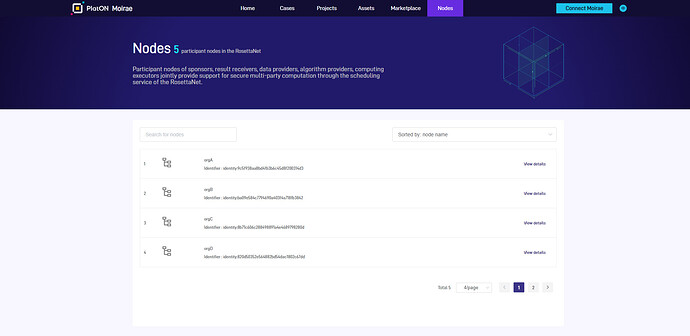
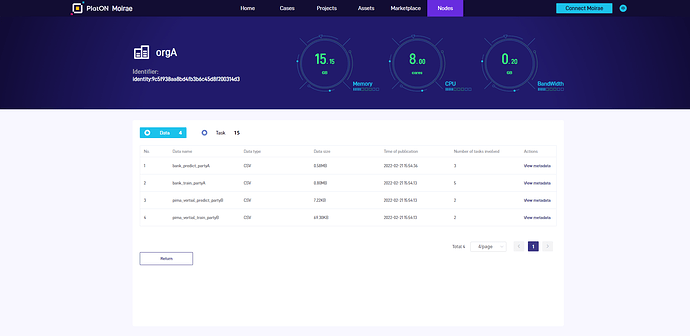
2.Click on [View details] to check the data provided by the node and the task it is engaged in;
Data Preparation
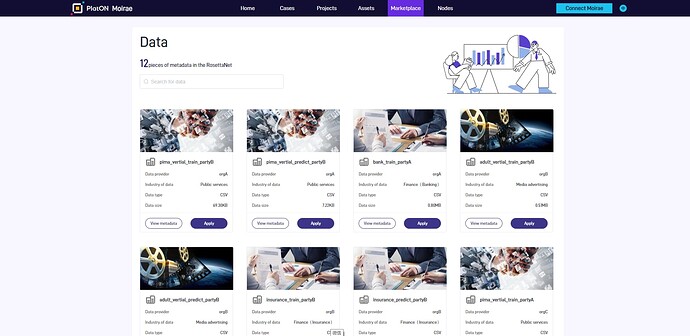
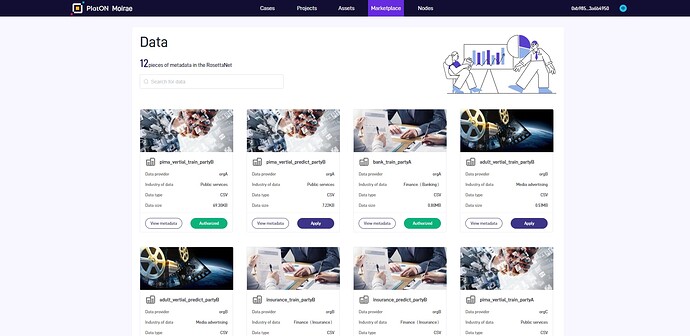
Currently, the available data on Moriae include test data made available by the platform and data provided by users. You use the data on Moriae simply by applying for the corresponding permission, and access to the relevant data will be granted once your application is approved. Please apply for data permission through the following steps:
1.After Log-in, go to Marketplace, select the target data, and click on [Apply];
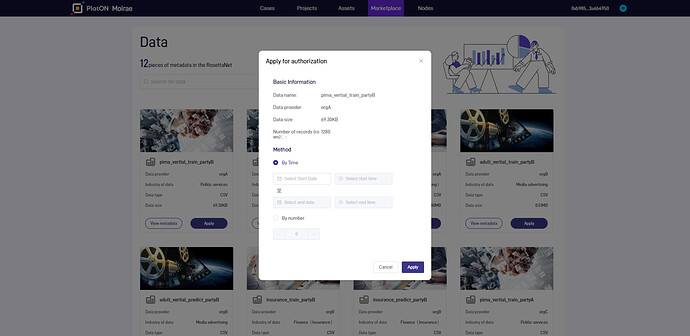
2.After the “Apply for authorization” window pops up, select a Method (by time or by number), enter the corresponding value, and then click on [Apply]. After the “Signature” window pops up, click on “sign” to complete your application;
3.Go to Assets to view the list and status of authorized data resources;
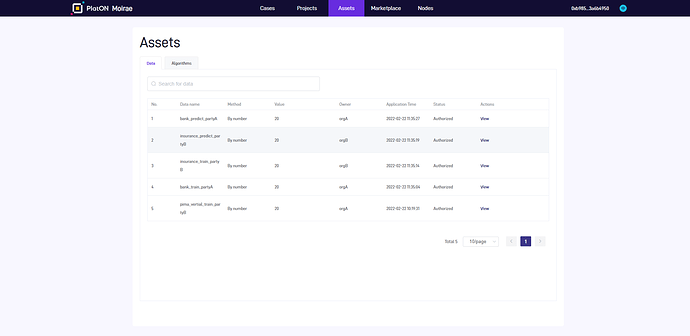
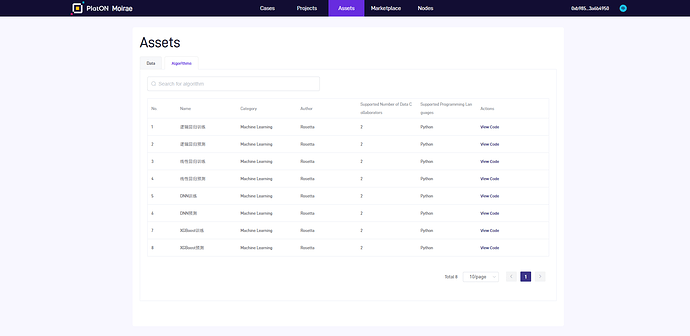
4.Click on “Algorithms” to switch to the algorithm list and view the algorithms available on Moriae;
5.Your application is approved once the Status changes to “Authorized”, and the Status of the corresponding data on the Marketplace page will also change to “Authorized”. You can then use the authorized data for [Model Training](#Model Training).
- Note: A privacy-preserving computation task normally requires the training data from at least two collaborators: “Data Provider-1 and Data Provider-2”.
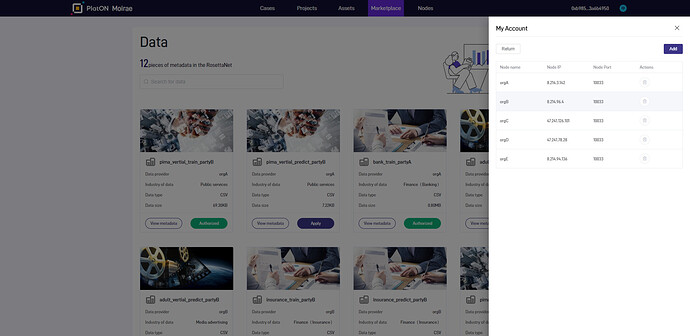
6.On the Node Management page in My Account, you can add Metis organization nodes that have been connected to the network as the “sponsor” (or “scheduler”) of the workflow;
Start a Project
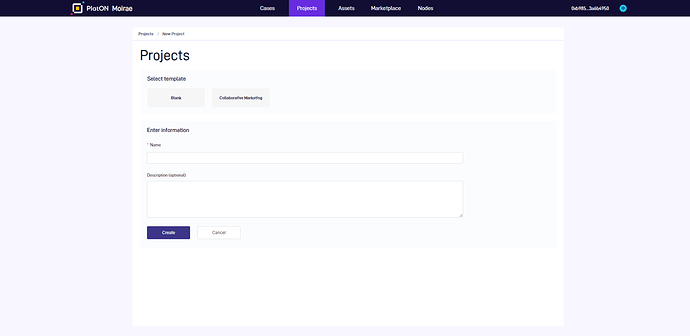
“Projects” are modules that help you manage privacy-preserving AI tasks. On Moriae, you can start a project on the Projects page, which involves the following steps:
1.On the Projects page, select a template (a blank template will create a project without any case example, while a Coordinated Marketing template will start a project that contains the workflow for coordinated marketing), enter the “Name” and “Description (optional)”, click on [Create] to start a new project;
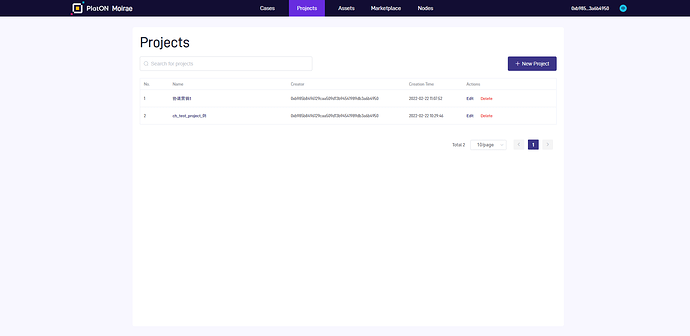
2.Click on the project name on the Projects page to check the project details (the workflow list will be opened by default);
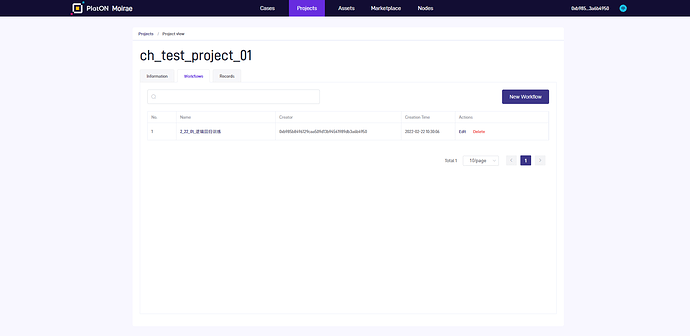
4.Enter Workflows and click on “New Workflow” to create a workflow.
Create a Workflow
Workflows are the primary workspace for adjusting the privacy-preserving AI tasks in a project. You can create a workflow following the below procedures:
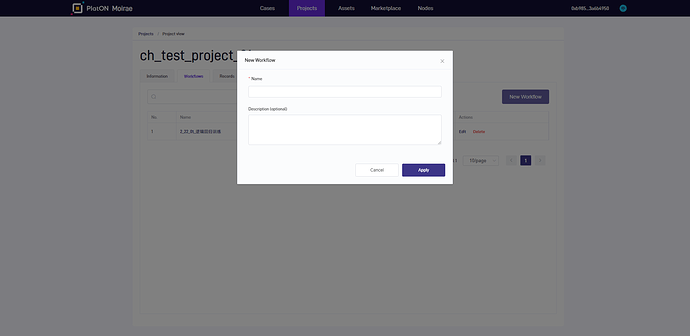
1.Enter Workflows and click on [New Workflow];

2.Enter “Name” and “Description (optional)” to create a new workflow;
Model Training
You can proceed with model training without any codes via workflows. Model training covers the following steps:
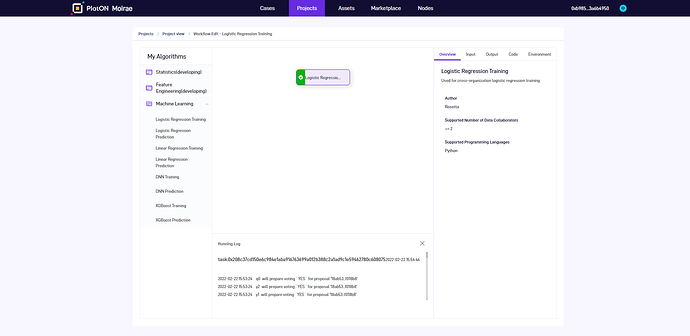
1.Click on the workflow to be edited on the Enter Workflows page to go to the “Workflow Edit” page;

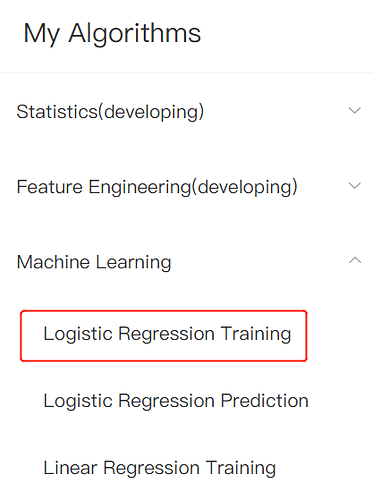
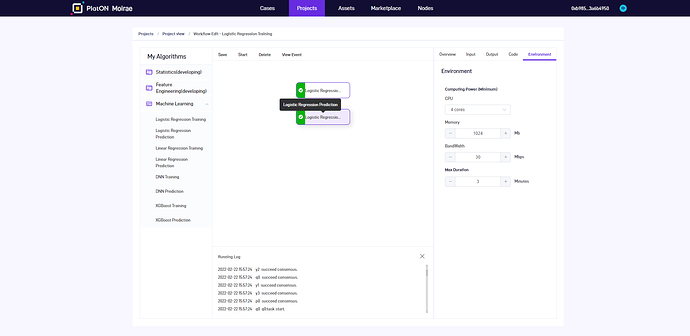
2.Choose “Machine Learning” in “My Algorithms” (the left side of Workflow Edit) to check the available algorithms, and select “Logistic Regression Training”;
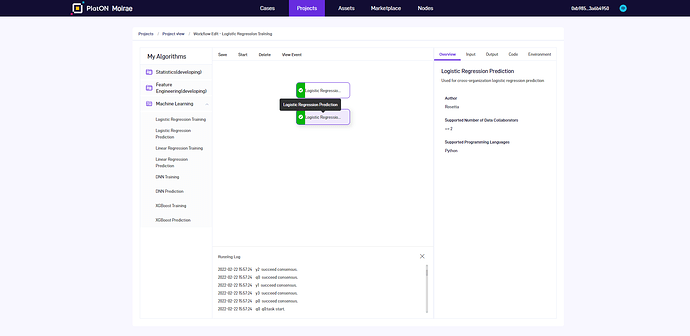
3.Click on “Logistic Regression Training” at the center of the page, and the workflow settings can be adjusted in the window on the right side of the page;
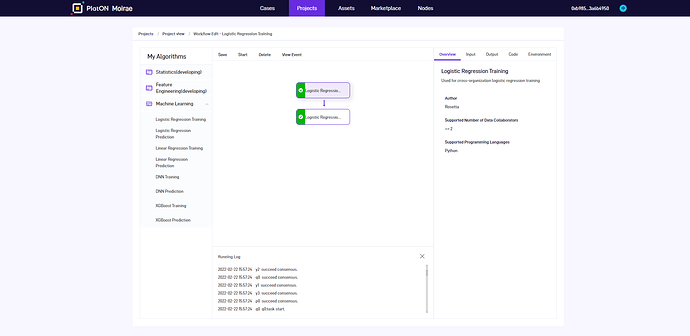
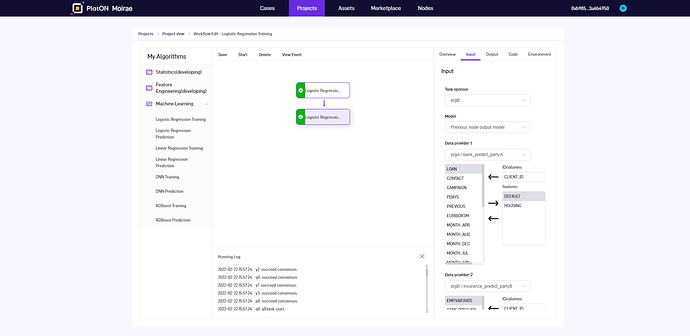
4.Click on [Input] in workflow settings, select the “Task sponsor” and “Data provider”, and set the corresponding IDcolumns, dependent/independent variables, etc.

- Note: In logistic regression (Y), the number of independent variables for Data provider-1 and Data provider-2 must be the same.
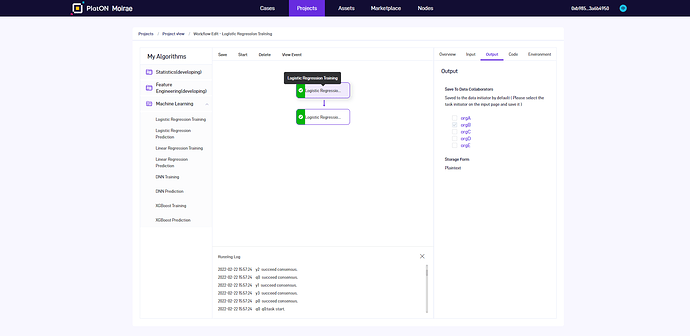
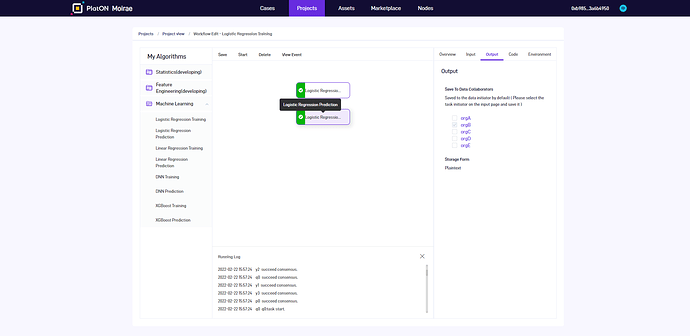
5.Click on [Output] in workflow settings, and select the collaborator that will save the results;
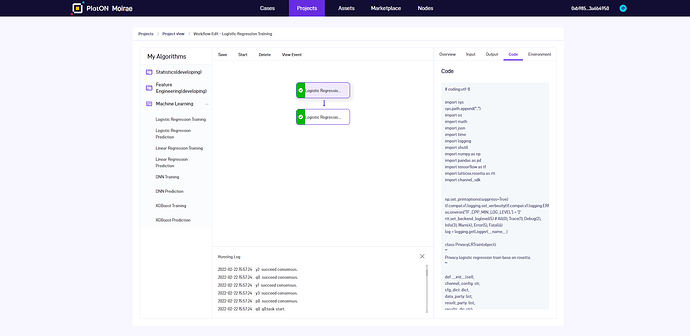
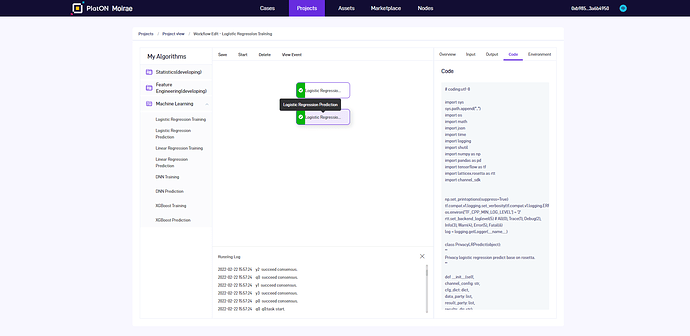
6.Click on [Code] in workflow settings to check the codes of the algorithm running for the current workflow;
7.Click on [Environment] in workflow settings to select the minimum requirements of the computing power, including CPU, Memory, and Bandwidth, and set the “Max Duration”;
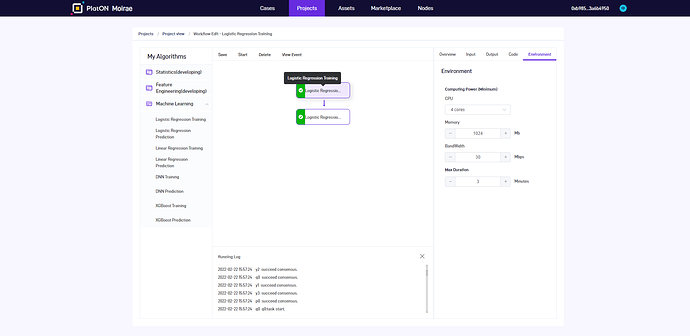
- Note: The default settings of the system are for reference only, and you’ll need to adjust the computing power and the duration according to the workflow algorithm and the size of the data set.
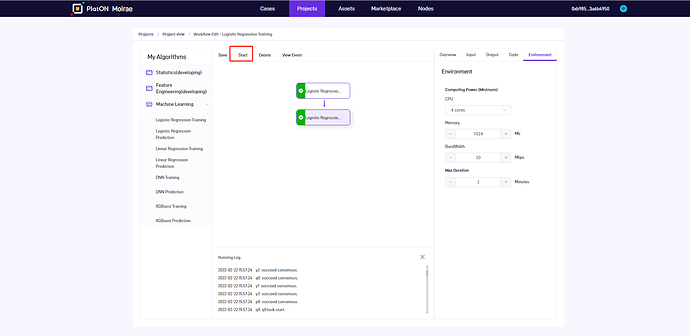
8.Once all settings have been determined, click on [Start] in the upper left corner of the page, select [Sign] in the “Signature Request” window that pops up, and the workflow will start running;

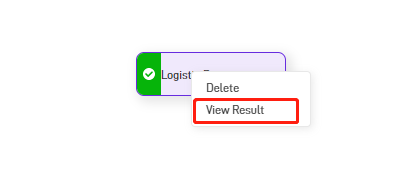
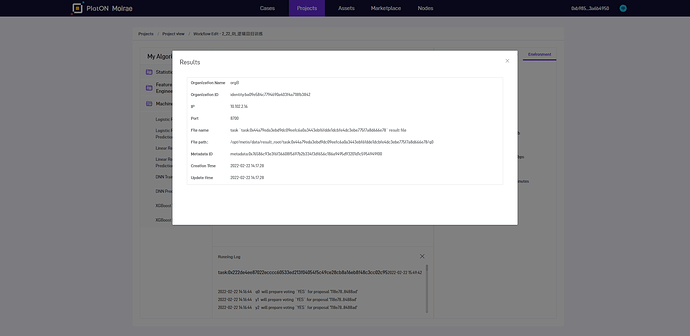
9.After the workflow finished running, right-click on [Logistic Regression Training] and select [View Result] to check the training results;
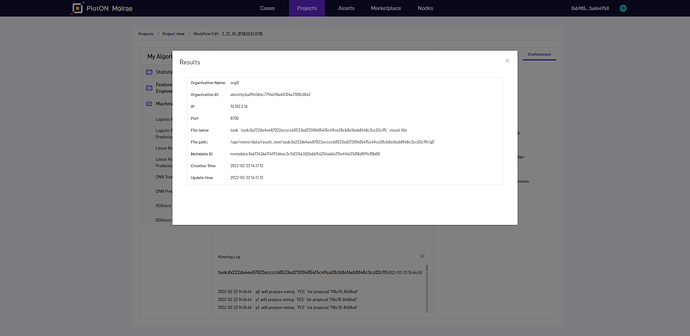
10.You can also check the storage information of the training results in the “Results” window that pops up.
Model Prediction
With the help of workflows, you can proceed with model prediction without any codes, which covers the following steps:
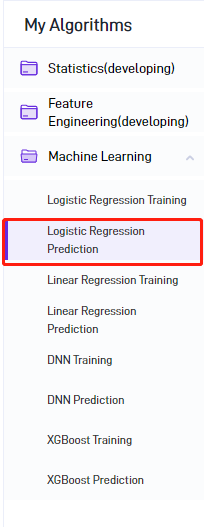
1.After completing [Model Training](#Model Training), select “Logistic Regression Prediction”;
2.Click on “Logistic Regression Prediction” at the center of the page, and the workflow settings can be adjusted in the window on the right side of the page;
3.Click on [Input] in workflow settings, and set the “Model”(Previous node output model by default), “Data sponsor”, “Data collaborator”, and the corresponding variables.
(译者注:下图中无对应参数,需要确认)
4.Click on [Output] in workflow settings, and select the collaborator that will save the results;
5.Click on [Code] in workflow settings to check the codes of the algorithm running for the current workflow;
6.Click on [Environment] in workflow settings to select the minimum requirements of the computing power, including CPU, Memory, and Bandwidth, and set the “Max Duration”;
7.Once all settings have been determined, click on [Start] in the upper left corner of the page, and the workflow will start running;
8.After the workflow finished running, right-click on [Logistic Regression Prediction] and select [View Result] to check the prediction results;

9.You can also check the storage information of the prediction results in the “Results” window that pops up.
- Note: The storage authorization of results is set in the [Output] setting of the node; persons other than the data collaborator will not have access to the results.
- Note: The number of independent variables set during the prediction process should coincide with the figure set in model training.
Running Logs
You can view the historical execution of workflows through running logs.
1.Select “Records” on the Projects page to check running logs;
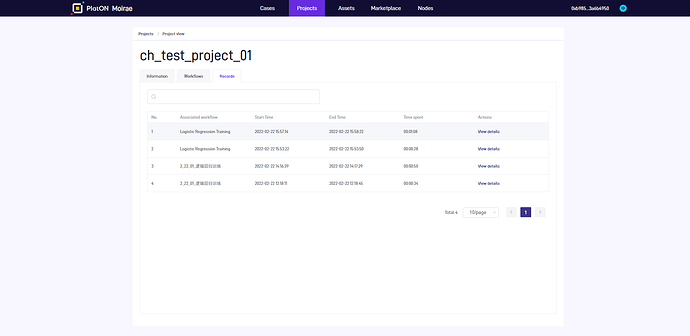
2.Click on “View details” on the running log page to enter the page of workflow details;
This article is reproduced from https://forum.latticex.foundation/t/topic/6060