In this chapter, we begin to build a browser – based wallet.
Project creation
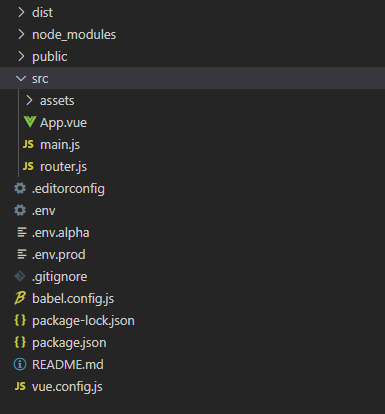
The construction process will not be explained here The function directory built based on Vue cli is as follows:

After the project is created, we open the public directory. If it is not in the created project, it needs to be created manually.
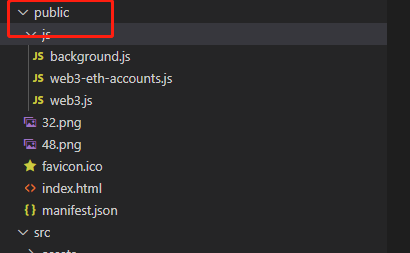
Then create a JS folder in this directory, put the file web3.js and web3-eth-accounts.js used in Chapter 2 into this directory, and then manually create an empty background.js file. Then we create a file manifest.json in the public directory, which is used to configure all plug-in related configurations The contents are as follows:
{

    "manifest_version": 2,
    "name": "DigDing",
    "version": "1.0",
    "description": "DigDing钱包",
    "author": "DQTech",
    "content_security_policy": "default-src 'self';script-src 'self' 'unsafe-eval'; style-src 'self' 'unsafe-inline';img-src 'self' data: base64; connect-src *",
    "icons": {
        "48": "48.png"
    },
    "browser_action": {
        "default_icon": "32.png",
        "default_title": "DigDing",
        "default_popup": "index.html"
    },
    "background": {
        "scripts": [
            "js/web3-eth-accounts.js",
            "js/web3.js",
            "js/background.js"
        ]
    },
    "permissions": [
        "tabs",
        "storage"
    ]
}
Let’s describe each field:
- manifest_version The version of the manifest file must be written and must be 2
- name Name of the plug-in
- version Version of the plug-in
- descriptionDiscription of the plug-in
- icons This tutorial only uses 48 pixels. Readers can fill in multiple icons, such as 16, 32, 128, etc
- browser_action Settings of the icon in the upper right corner of the browser
default_icon Icon in the upper right corner
default_title Title when icon hovers
default_popup The page that pops up when the mouse clicks the plug-in icon in the upper right corner - background The background JS or background page that will be resident all the time. This tutorial only uses scripts to represent the JS file to be introduced by the plug-in.
- permissions Permission application, permission tabs used in this tutorial, page opening permission, storage permission
Build welcome page
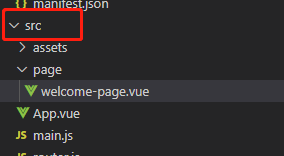
create the page directory in the src directory, and then add welcome-page.vue file
The code is as follows (Note: in order to reduce the space and style code, the author will not release it here. Readers can go to GitHub to download the project and connect it at the end of the article):
<template>
  <div class="welcome-page">
    <img src="@/assets/logo.png" />
    <div class="header">欢迎使用DigDing PlatON专属钱包</div>
    <div class="description">我们很高兴与您见面</div>
    <el-button class="first-time-flow-btn" type="primary">开始使用</el-button>
  </div>
</template>
Then open the file App.vue, the code is modified as follows:
  mounted() {
    if (this.IsOpenByPopup()) {
      chrome.tabs.create({ url: "index.html#/welcome" });
    }
  },

  methods: {
    /**
     * 判断是不是通过点击右上角图标进来的
     */
    IsOpenByPopup() {
      return (
        !window.location.href ||
        !window.location.hash ||
        window.location.hash === "#/"
      );
    },
  },
Because all chrome plug-ins are displayed in a pop-up box by default, we need to display them directly in the browser through chorme.tabs create a page and open the permissions of tabs we have just been in manifest.json file in the permissions application
Then we open router.js file, write jump route, and the code is as follows:
const router = new Router({
    base: process.env.BASE_URL,
    routes: [
        {
            path: '/welcome',
            name: 'welcome',
            component: () => import('@/page/welcome-page.vue'),
          },
    ]
});
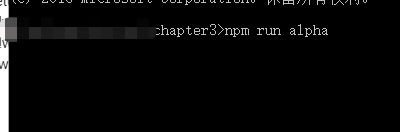
Open the console under the current project directory and enter the npm run alpha command after written the code
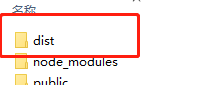
After compiling, we will see the dist directory under the current project, as shown in the figure below. Next, we will start to install the plug-in
The installation steps are as follows:
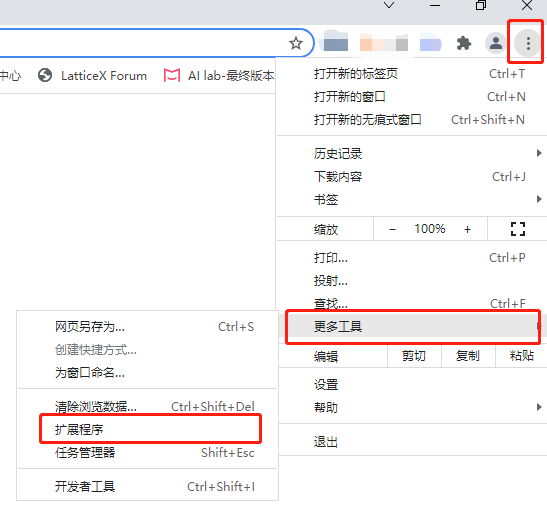
Open chrome, open the three-point menu in the upper right corner, then select more tools in the pop-up menu, and then choose extension
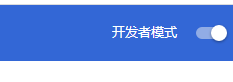
In the upper right corner of the pop-up page, open the developer selection mode, as shown below:
Then we use the mouse to drag the packaged dist directory to this page, and the installation is complete
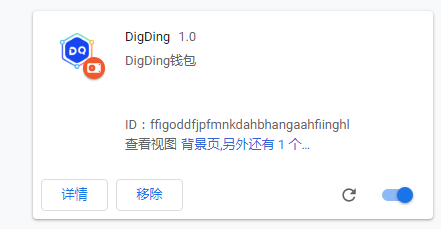
Then we can see a plug-in icon in the upper right corner, as shown below:
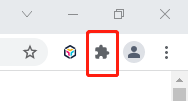
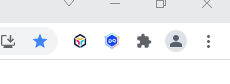
select to fix digding wallet In the pop-up menu,

Then you can see the digding wallet directly in the upper right corner
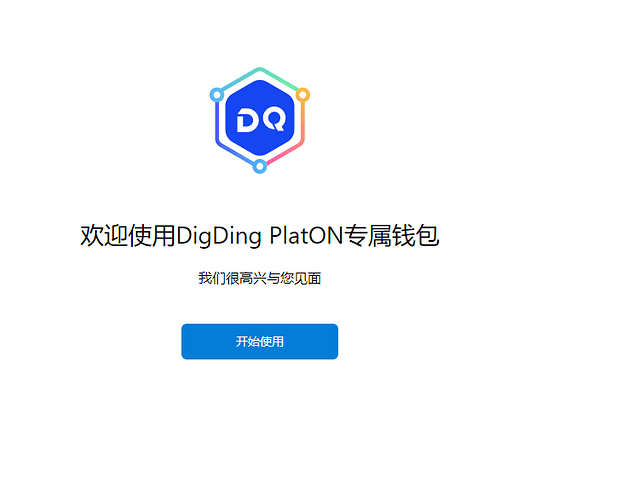
click the digding icon in the upper right corner after installation,then we can see our built welcome page:
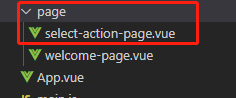
Build a guide page for creating / importing wallets
Add a select-action-page.vue file in the page directory
Some codes of the file select-action-page.vue are as follows:
<template>
  <div class="select-action-page vertical-only-layout">
    <header-bar />
    <div class="select-action-container horzontal-layout">
      <div
        class="
          select-action-btn
          vertical-only-layout
          flex-horzontal-center flex-1
        "
        style="margin-right: 16px"
      >
        <div class="el-icon-download icon"></div>
        <div class="select-action__button-text-big">
          不,我已经有一个种子密语了。
        </div>
        <div class="select-action__button-text-small">
          请使用 12 字种子密语导入现有钱包
        </div>
        <el-button class="action-btn" type="primary">导入钱包</el-button>
      </div>
      <div
        class="
          select-action-btn
          vertical-only-layout
          flex-horzontal-center flex-1
        "
      >
        <div class="el-icon-plus icon"></div>
        <div class="select-action__button-text-big">是的。立即开始设置!</div>
        <div class="select-action__button-text-small">
          该操作将为您创建新钱包和种子密语
        </div>
        <el-button class="action-btn" type="primary">创建钱包</el-button>
      </div>
    </div>
  </div>
</template>
Then in router JS file to add jump route:
 {
          path: '/select-action',
          name: 'select-action',
          component: () => import('@/page/select-action-page.vue'),
},
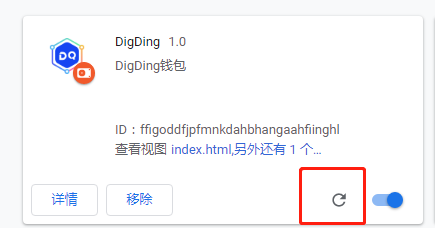
We should recompile the project and run the command npm run alpha after writing the code. After compiling, we should find digding on the plug-in management page of chrome, and then click the refresh button.
Then click the digding icon in the upper right corner again and click the start button on the welcome page you could see the following page
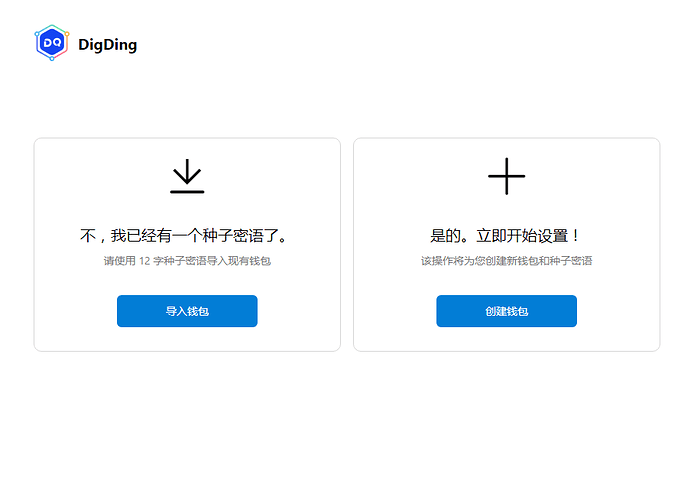
Build a password page of registering a wallet
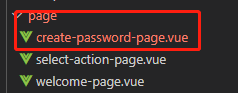
Add file create-password-page.vue in page directory
Some codes of the file create-password-page.vue are as follows:
<template>
  <div class="create-password-page vertical-only-layout">
    <header-bar />
    <div class="go-back" @click="onGoBack">< Back</div>

    <div class="create-password-title">创建密码</div>
    <el-form ref="passwordForm" :model="passwordInfo">
      <el-form-item
        prop="newPassword"
        label="新密码(至少8个字符)"
        :rules="[
          {
            required: true,
            message: '请输入新密码(至少8个字符)',
            validator: validator.ValidatePassword,
          },
        ]"
      >
        <el-input
          class="pwd-input"
          type="password"
          v-model="passwordInfo.newPassword"
          placeholder="请输入新密码(至少8个字符)"
          :minlength="8"
        />
      </el-form-item>
      <el-form-item
        prop="confirmPassword"
        label="确认密码"
        :rules="[
          {
            required: true,
            message: '请再次输入密码',
            validator: validator.ValidatePassword,
          },
        ]"
      >
        <el-input
          class="pwd-input"
          type="password"
          v-model="passwordInfo.confirmPassword"
          placeholder="请再次输入密码"
          :minlength="8"
        />
      </el-form-item>
      <el-form-item>
        <el-button class="create-btn" type="primary" @click="onCreate"
          >创建</el-button
        >
      </el-form-item>
    </el-form>
  </div>
</template>
Then add a jump route to the file router.js
  {
     path: '/create-password',
     name: 'create-password',
     component: () => import('@/page/create-password-page.vue'),
 },
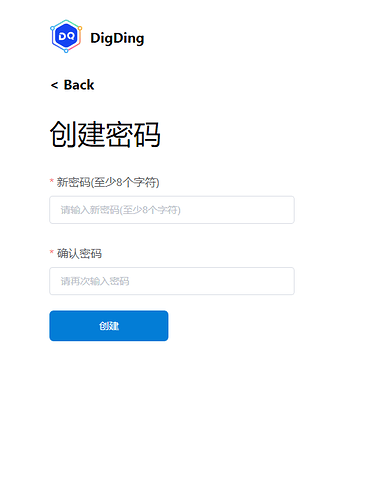
Recompile it, and the final interface is as follows:
Well, that’s all for this chapter. In the next chapter, we’ll learn how to generate secret keys
The URL of github: https://github.com/DQTechnology/Platon_DevGuideProject
This article is reproduced from https://forum.latticex.foundation/t/topic/5835